
SNMP stands for Simple Network Management Protocol which is uses to manage your network devices by a management host.
There are three versions of SNMP:
- SNMPv1
- SNMPv2c
- SNMPv3
SNMPv1 and SNMPv2c uses community-string as password which is sent in clear text.
On the other hand, SNMPv3 is able to provide both authentication and encryption to secure the communication. SNMPv3 uses users and groups to grant access which is applied using one of the three security levels.
The SNMPv3 Security Levels:
- noAuthPriv (noauth)- provides no Authentication or Privacy (encryption)
- AuthNoPriv (auth) – provides Authentication but no Privacy (encryption)
- AuthPriv (priv) – provides Authentication and Privacy (encryption)
The authentication supports two algorithms: MD5 and SHA1, while encryption supports algorithms DES, 3DES and AES.
Configuring SNMPv3
1. Configure the View
snmp-server view [VIEWNAME] iso included
2. Configure the Group
snmp-server group [GROUPNAME] v3 [noauth|auth|priv] [read RName] [write WName] [context CName] [notify NName] [access ACL]
3. Configure the User
snmp-server user [Username] [GroupName] v3 [encrypt] auth [md5|sha] [AuthPWD] priv [des|3des|aes] [PrivPassword] [access ACL]
4. Configure Traps
snmp-server host [IP] traps version [1|2|3] [noauth|auth|priv] [USER] [other_snmp_options]
Verify SNMPv3
show snmp user

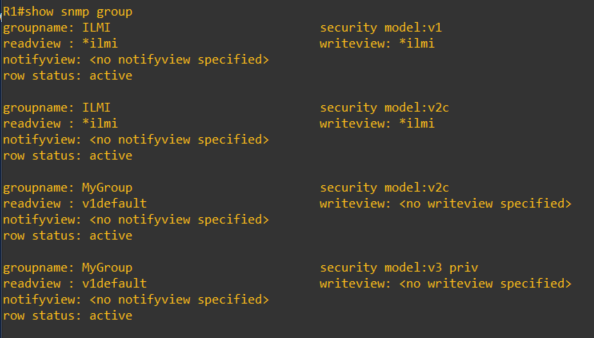
show snmp group
This article covers some of the SNMP options and configuration of which I am covering in my CCNP studies. For further details, you can visit the Cisco documentations here.


